

Neon Sign 101
Hanging & Big Signs
How to hang your neon sign, why big signs come in pieces, and how to use your remote. Easy steps, no electrician needed.

What's in the box
Everything you need
Every neon sign comes ready to hang and plug in. Not sure what size you need yet? See Neon Sign 101: Size & Designs.
- Your neon sign. Handmade on a clear acrylic backboard.
- Remote. Turns it on and off, sets the brightness, effects and a sleep timer.
- RF dimmer. The small black box between your sign and the power. The remote talks to it.
- Power adapter. Black adapter with a regular US plug for any wall outlet.
- Wall mount kit. Silver standoff screws with caps, white wall anchors and soft cushions.
- Ceiling hanging kit. Steel wires, ceiling clips and metal buckles. Both kits come free.

Step by step
How to hang your sign
Hanging it on the wall takes about 15 minutes. You need a pencil, a level and a drill.
Watch it go up
A real install, start to finish
Watch a real Versatile sign get unboxed and hung in under a minute. You will see the remote, the black RF dimmer, the power adapter, the wall anchors and the standoffs. Then follow the steps below.
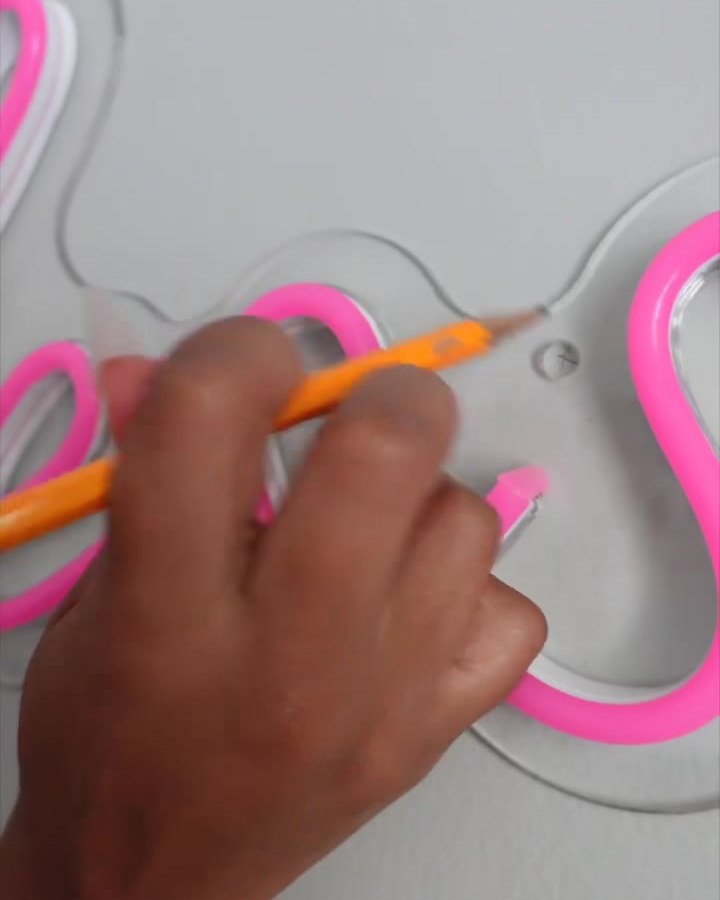
Mark the holes
Hold the sign where you want it, close to an outlet. Check it with a level, then mark the wall through each hole with a pencil.
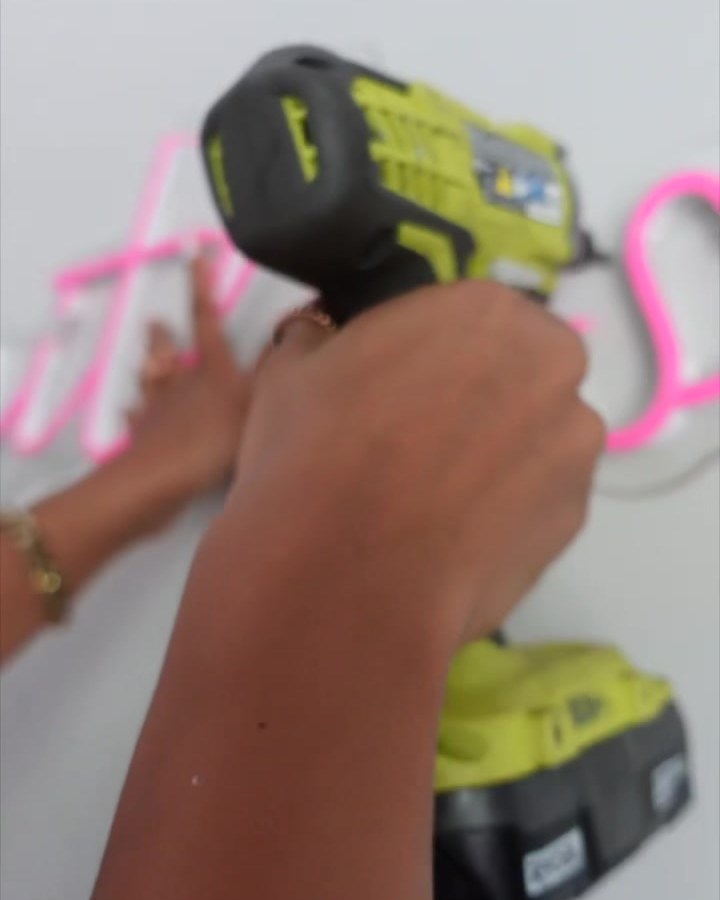
Drill the holes
Set the sign down and drill a hole on each pencil mark.
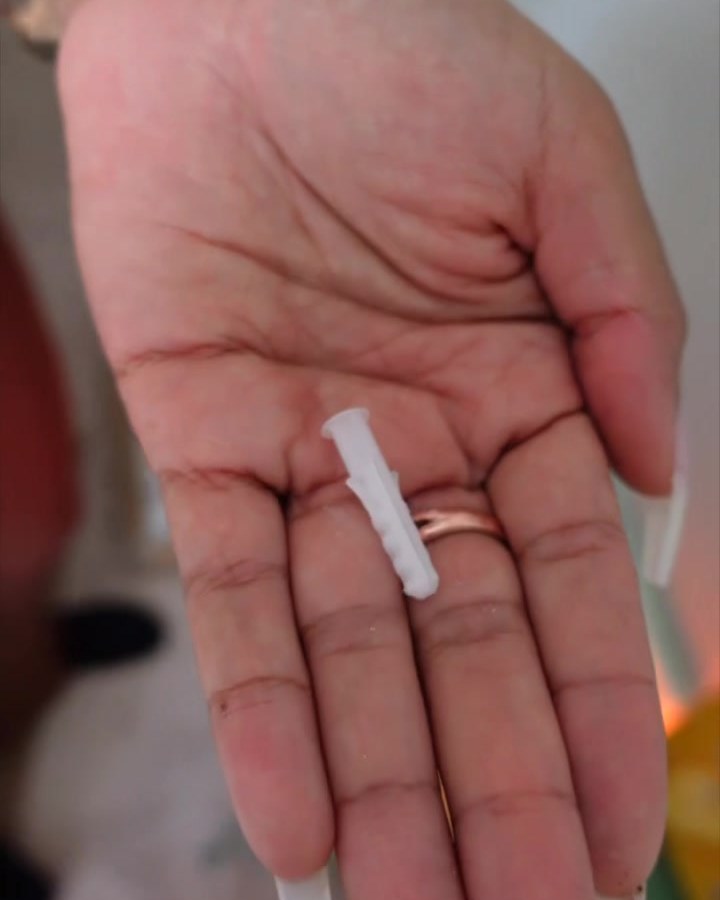
Add the wall anchors
Tap one white wall anchor into each hole until it sits flat with the wall.
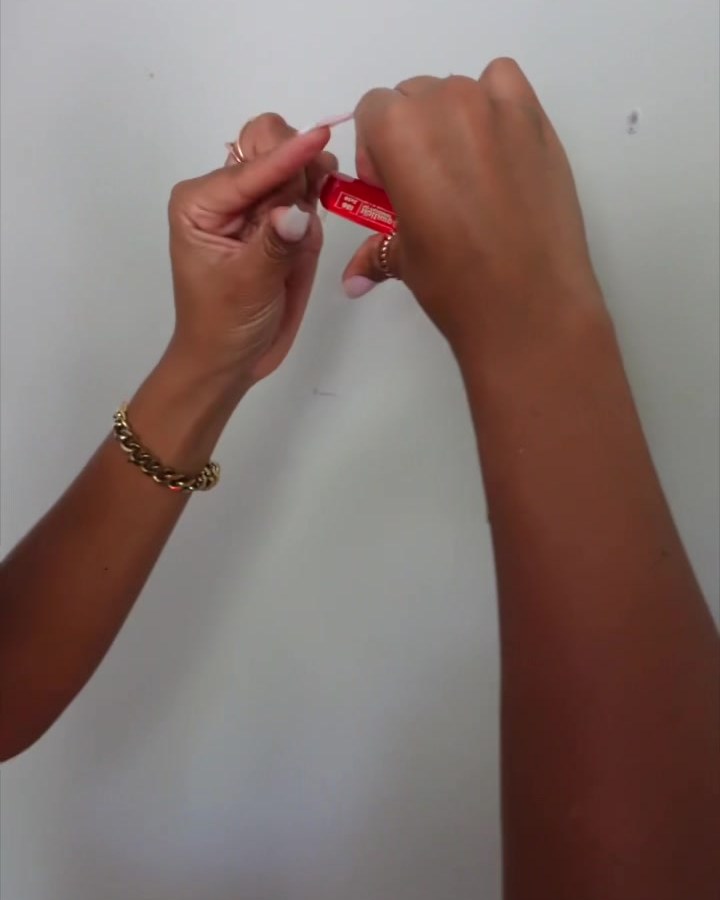
Screw in the standoffs
Screw a silver standoff base into each anchor. These hold your sign off the wall.
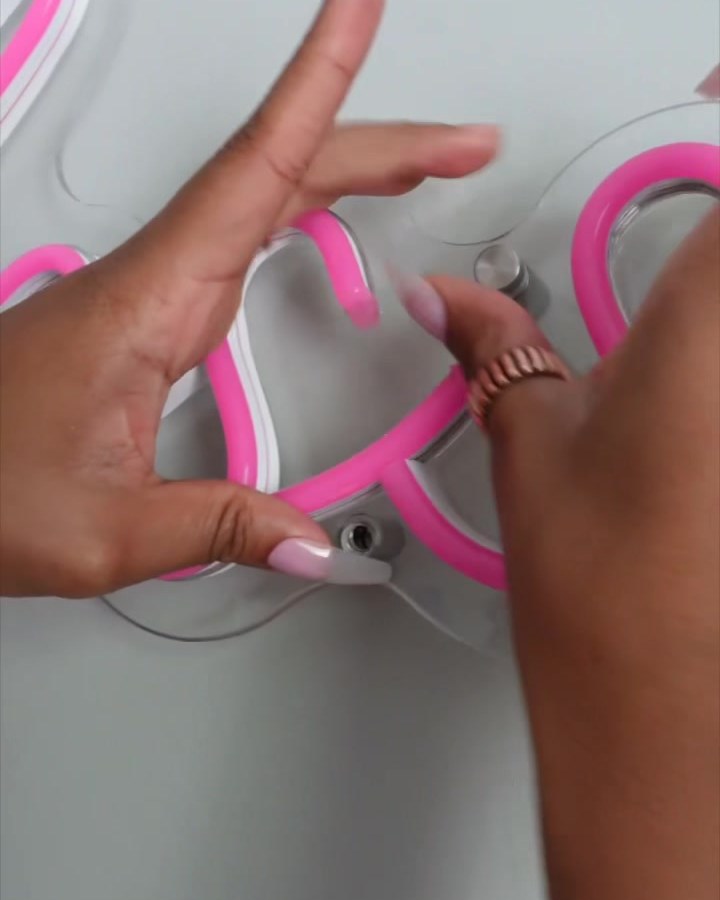
Put the sign on
Line the sign's holes up with the standoffs, a cushion on each side, then twist the silver caps on. Snug, not too tight.
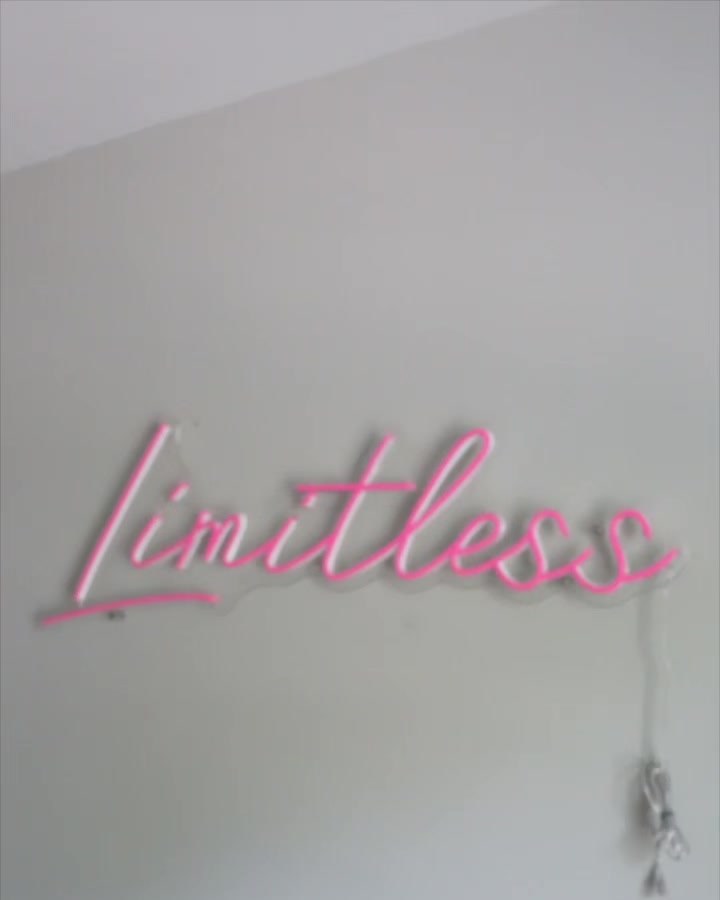
Plug in and glow
Connect the sign to the black RF dimmer, connect the power adapter, plug it into the wall and press On.
Hang the sign first, then plug it in. Never hang it by the cord. Want it hardwired into the wall? Use a licensed electrician. Hardwiring is not covered by the warranty.
Or hang it from the ceiling
Using the hanging kit
Great for windows, shops and event backdrops. The hanging kit comes free with your sign.
Put up the clips
Screw the two hanging clips into the ceiling, the same distance apart as the top holes on your sign.
Thread the wires
Push a steel wire through each top hole on the sign and through a small metal buckle.
Clamp it tight
Squeeze the buckle closed with pliers so the wire can't slip.
Hang and level
Clip the wires to the ceiling clips, adjust until the sign hangs level, then plug in.

Split boards
Why big signs come in pieces
When a sign is too big to ship safely on one board, we build it on two or more boards. They hang next to each other and read as one sign. Planning a big sign? Start with our size guide or ask us for a free quote.
- Ships safely. Smaller pieces are much less likely to break on the way to you.
- Easier to hang. Each piece is lighter, so one or two people can put it up.
- Looks like one sign. The pieces line up next to each other and light up together.
- One plug between pieces. Each board connects to the next with a small plug.

Watch it
Two pieces, one sign
See a big sign hang in two pieces, plug together and light up as one. Want more? Watch all 11 neon lessons in our Resource Center.
Hanging a sign that comes in pieces
Lay it out
Put the pieces on the floor in order, so the words read the right way.
Hang the first piece
Start on one end. Level it, mark the holes and screw it to the wall.
Line up the next
Hold the next piece right up against the first so the letters line up, then screw it on.
Connect and plug in
Plug the pieces into each other, then plug into the outlet. It all lights up together.
Remote + dimmer
How to use your remote
Every sign comes with this remote and the black RF dimmer, free. The remote talks to the dimmer box on your sign's cord. Want to pick colors and fonts first? See Neon Sign 101: Styles & Colors.

On and off
Green button turns it on. Red button turns it off.
Brightness
Use the up and down arrows on the round dial, or tap a blue button from 10% to 100%.
Light effects
Press MODE + or MODE – to switch between the lighting effects.
Effect speed
Press SPEED + or SPEED – on the dial to make an effect go faster or slower.
Sleep timer
Tap a green button (5, 10, 30 or 60) and your sign turns itself off after that many minutes.
Remote not working? Make sure the battery is in, then move closer to the black dimmer box and try again.
Hanging questions
Hanging & big sign FAQs
Does it come with everything I need to hang it?
Yes. Every sign comes with a wall mount kit (silver standoff screws, wall anchors and cushions), a ceiling hanging kit (steel wires and clips), a power adapter, a remote and an RF dimmer. You just need a pencil, a level and a drill.
Do I need an electrician?
No. Your sign plugs into a regular wall outlet. If you want it hardwired, use a licensed electrician. Hardwiring is not covered by the warranty.
Why did my sign come in pieces?
Big signs are built on more than one board so they ship safely and are easier to hang. The pieces hang next to each other, plug together and light up as one sign.
Is the remote extra?
No. The remote and dimmer are included free with every neon sign.
Can I hang my sign outside?
Yes, if you choose Outdoor (+$50) when you order. Indoor signs are made for inside use only.
What does the warranty cover?
12 months on defects for neon signs and neon mirrors. It does not cover accidents or damage from hanging. See all the details on our FAQ page.
Keep learning
More neon guides
Ready when you are
Let's light up your wall
Design your sign in minutes, or send us your logo for a free mockup.