

Standard Colors:

Separate from our available neon light signs generator which only allows one color, we have two different color options that allow you to have multiple colors for your custom neon sign.
Here's the distinction between the two color options:
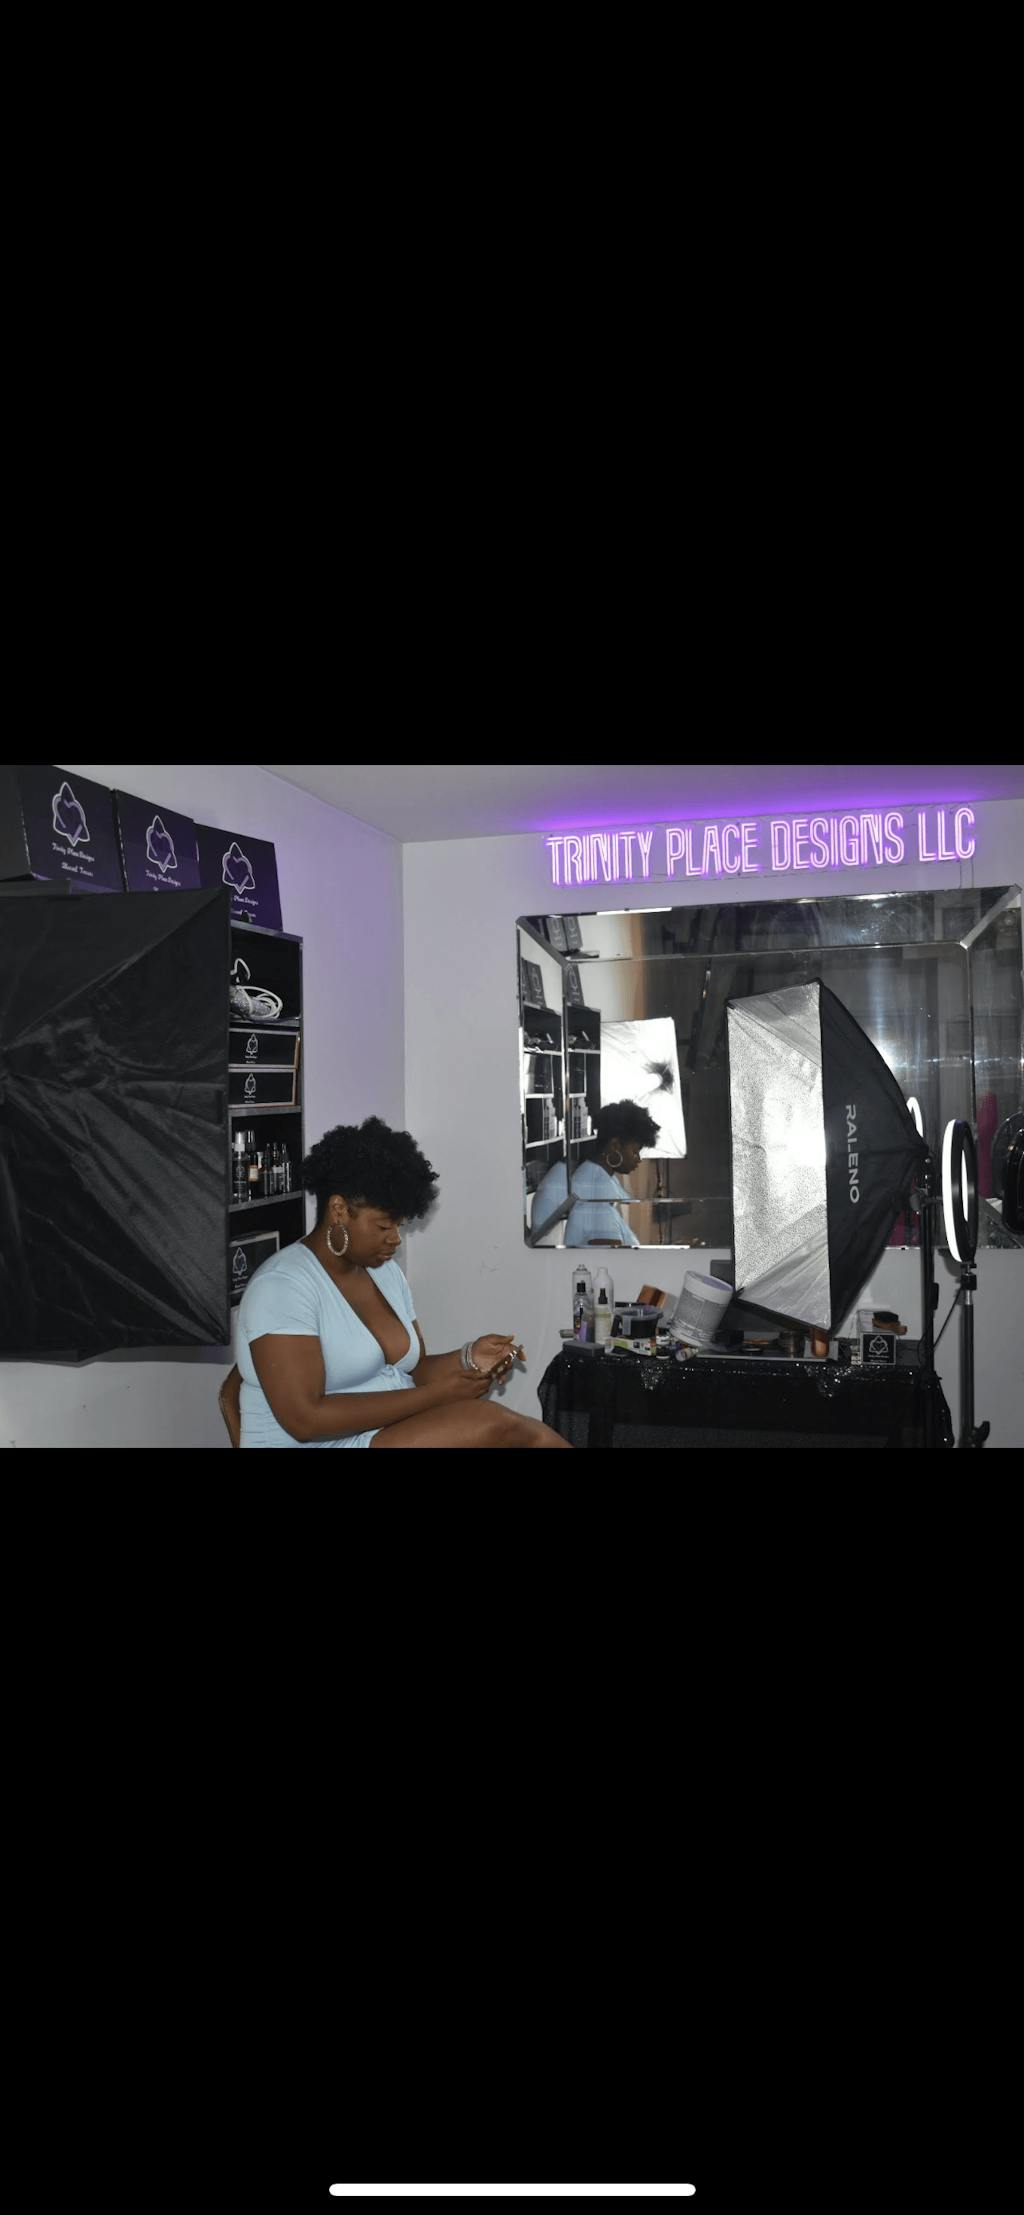
Standard Multiple-Color Neon Sign: This option represents the specific colors you can choose for neon sign. You can choose from our color palette and can be designated per letter. These colors will be set and cannot be changed with a remote. (Show picture)
Rainbow/Multi-Color Neon Sign: With this selection, you have the freedom to alter the color of your neon sign as you wish. This option includes a convenient remote control that empowers you to switch between a wide array of hues from our popular color spectrum, including Red, Hot Pink, Deep Blue, Ice Blue, Purple, Green, Warm White, Cold White, and Orange. In addition, it offers multiple dynamic modes for added visual appeal. Your order will include a remote control that makes it easy for you to manage these color variations, enabling you to craft mesmerizing visual effects. (Show picture)"
At Versatile S & R, we deeply value the significance of your neon sign.
Please keep in mind that ongoing challenges related to COVID-19 have resulted in shipping delays for many carriers. Regardless of the selected shipping service, these delays may be beyond our control. However, please rest assured that we are committed to delivering your order as swiftly as possible.
Following payment, please allocate 3-5 business days for production and an additional 7-10 business days for shipping.
Once your neon sign is ready, we will promptly email you a tracking number and a picture of your sign.
Step 1: Determine the positions on the wall where you'd like to display the neon light.
Step 2: Use a drill to create holes for the screws that will secure the wall anchors.
Step 3: Insert the wall anchors securely into the holes.
Step 4: Drill the screws through the metal cylinders, attaching them to the wall anchors. Remember to take advantage of the two shock bands that assist in gently fitting the acrylic onto the mount.
Step 5: Carefully tighten the screws into the metal cylinders.